
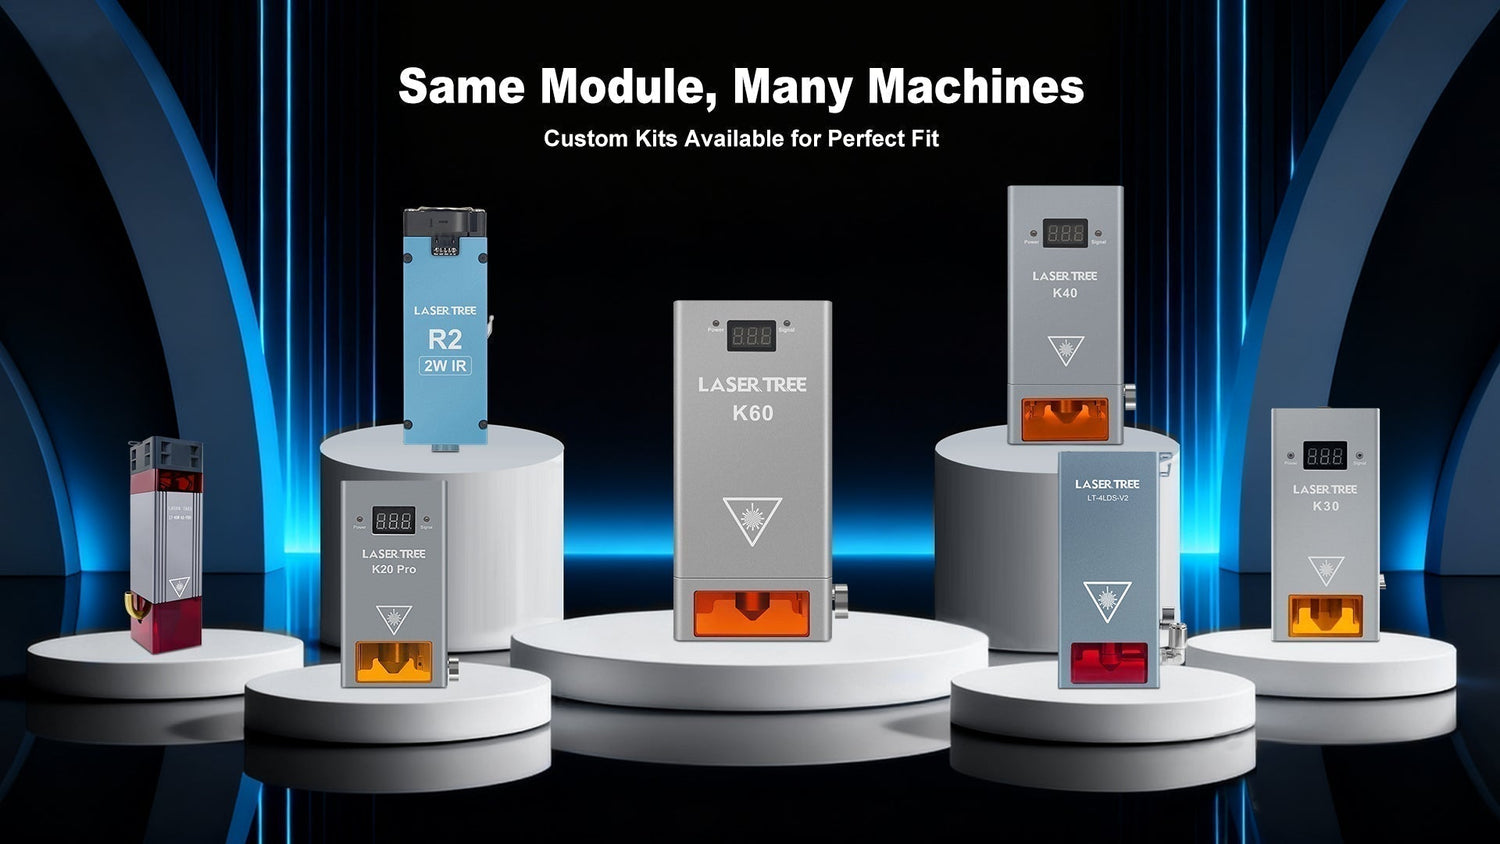
LaserTree Laser Module Compatibility Guide for Creality Falcon
Looking to upgrade your Creality Falcon with a more powerful LaserTree laser module?
With the LaserTree Creality Falcon Compatibility Kit, you can quickly replace the original laser module with a high-performance LaserTree laser module—without modifying your machine. Whether you're looking for faster engraving, deeper cutting, or expanded material capabilities, this upgrade is designed to be simple, reliable, and beginner-friendly.
Compatible Creality Falcon Models
|
l Falcon2 PRO 60W |
l Falcon2 40W |
l Falcon A1 |
l Falcon CR-10W |
|
l Falcon2 PRO 40W |
l Falcon2 22W |
l Falcon A1 PRO |
l Falcon CR-5W |
|
l Falcon2 PRO 22W |
|
|
|
https://lasertree.com/products/compatible-kit-for-creality
Installation Checklist:

https://lasertree.com/products/laser-tree-k20-pro-20w-optical-power-laser-module
Note: Compatibility kits vary by machine model. Please confirm your Falcon model before purchasing.
What You'll Need
Before starting the installation, prepare the following:
- LaserTree Laser Module
- Creality Falcon Compatibility Kit
- Mounting bracket
- Adapter cable
- Installation hardware
Step 1: Power Off Your Machine
For your safety:
- Turn off the Creality Falcon.
- Disconnect the power cable.
- Wait approximately one minute before removing the original laser module.
Safety Tips
- Never install or remove a laser module while the machine is powered on.
- Keep your original laser module in case you want to reinstall it later.
Step 2: Install the LaserTree Mounting Bracket
- Align the LaserTree laser module with the mounting bracket.
- Secure it using the included screws.
- Install the assembled bracket onto the machine.
- Tighten all mounting screws firmly.
- After installation, ensure there is no movement or looseness.

Step 3: Connect the Laser Module
Connect the supplied adapter cable between the LaserTree laser module and your Creality Falcon according to the compatibility kit instructions.

After connecting, verify that:
- All connectors are fully seated.
- The adapter cable is installed correctly.
- Cables have enough slack for full X/Y axis movement.
- No cable interferes with machine operation.
- Remove the air tube from the original laser module.
Connect it to the air inlet on the top of the LaserTree laser module.
Step 4: Configure Your Software
LaserTree laser modules work with popular laser engraving software, including:
- LightBurn
- LaserGRBL
Before starting your first project, check the following settings:
- Machine profile is set to Creality Falcon
- Crosshair offset is configured correctly (varies by module)
- Work origin is set correctly
- Use the Frame function to preview the engraving area
- Select suitable power and speed settings based on your installed LaserTree laser module
Step 5: Perform a Test Engraving
Before running a production job:
- Focus the laser using the supplied focusing tool.
- Home the machine.
- Use the Frame function to confirm the work area.
- Verify the laser position.
- Start with a simple engraving pattern.
- Check engraving quality and adjust focus if necessary.
Once everything looks correct, you're ready to begin normal engraving or cutting.
Safety Recommendations
For safe operation, always:
- Wear certified laser safety glasses.
- Never leave the machine unattended while the laser is running.
- Operate in a well-ventilated workspace.
- Keep flammable materials away from the machine.
- Clean the laser lens regularly for optimal performance.
- Enable Air Assist whenever cutting materials.
Troubleshooting
Laser Does Not Fire
If the laser does not turn on, check the following:
- Is the adapter cable connected correctly?
- Is the machine receiving power?
- Restart the machine and try again.
- Verify all cable connections are fully inserted.
If the issue persists, please contact the LaserTree technical support team.

コメントを書く
このサイトはhCaptchaによって保護されており、hCaptchaプライバシーポリシーおよび利用規約が適用されます。